作者:小波、Lance KKo/Aeroprobing
由於上回完成了Ameba的TFT/WIFI/PWM控制系統後(詳見本文),一直在思考Ameba其他的功能開發,尤其是Ameba與目前市面上其他Cortex M3 WiFi開發板最大的不同處,就是Ameba具備了其他同等級開發板少見的NFC功能,因此這次我們就特別針對NFC功能來做介紹,並將NFC功能整合進我們已經有的TFT/WiFi/PWM系統。
在一般WiFi的IoT device使用上,最讓人覺得不方便的,就是要開啟手機WiFi後,還必須找到該IoT裝置的eSSID及server的IP位置,因為這樣的控制稍顯複雜,降低了IoT裝置的易用性,因此我們希望能利用手機掃瞄NFC Tag的方式,來做IoT Device的連結;所以這次我們的系統控制流程,簡單來說,就是將會利用手機NFC Tag功能來讀取Ameba的NFC訊號,去打開Ameba的Web(IP address),並在Web上控制LED的亮度,以及同步顯示結果於LCD,如此一來便可以節省在手機中,輸入IP去連接Web的動作。
一、程式碼撰寫
#include <WiFi.h>

#include "SPI.h"

#include "AmebaILI9341.h"

#include <NfcTag.h>


#define LED_pin 3

#define TFT_RESET  8

#define TFT_DC     9

#define TFT_CS    10

#define ILI9341_SPI_FREQUENCY 20000000


int flag=0;

int duty_LED=0;

char ssid[] = "LANCEDESIGN";

char myIpString[24];

int status = WL_IDLE_STATUS;


WiFiServer server(80);

IPAddress ip;

AmebaILI9341 tft = AmebaILI9341(TFT_CS, TFT_DC, TFT_RESET);


void setup() {

  Serial.begin(9600);

  pinMode(LED_pin, OUTPUT);

  if (WiFi.status() == WL_NO_SHIELD) {

    Serial.println("WiFi shield not present");

    while (true);

  }


  while (status != WL_CONNECTED) {

    Serial.print("/n-->Network named: ");

    Serial.println(ssid);

    status = WiFi.begin(ssid);

    delay(5000);

  }

  server.begin();

  delay(2000);

  SPI.setDefaultFrequency(ILI9341_SPI_FREQUENCY);

  tft.begin();

  delay(2000);

  Serial.println("\nTFT is OK !!");

  ip = WiFi.localIP();

  sprintf(myIpString, "%d.%d.%d.%d", ip[0], ip[1], ip[2], ip[3]);

  NfcTag.appendRtdUri(myIpString,RTD_URI_HTTP);

  NfcTag.begin();

  delay(2000);

  Serial.println("\nNFC is OK !!");

}


void loop() {

  flag++;

  WiFiClient client = server.available();


Serial.println(client);

  if (client) {

    Serial.println("Start client");

    String currentLine = "";

    while (client.connected()) {

      if (client.available()) {

        char c = client.read();

        Serial.write(c);

        if (c == '\n') {

          if (currentLine.length() == 0) {


            client.println("HTTP/1.1 200 OK");

            client.println("Content-type:text/html");

            client.println();


            client.println("<html>");

            client.print("<table align='center' border='5'>");

            client.print("<tr>");

            client.print("<td colspan='2' align='center'>Control the PWM</td>");

            client.print("</tr>");

            client.print("<td><input type='button' value='DOWN' onclick=self.location.href="/slow" style='width:90px;height:30px;font-size:20px;'></td>");

            client.print("<td><input type='button' value='UP' onclick=self.location.href="/quick" style='width:90px;height:30px;font-size:20px;'></td>");

            client.print("</table>");

            client.println();

            client.println("</html>");


            break;

          } else {

            currentLine = "";

          }

        } else if (c != '\r') {

          currentLine += c;

        }


        if (currentLine.endsWith("GET /quick")) {

          duty_LED += 1;

          if (duty_LED > 10)

           duty_LED=10;

         analogWrite(LED_pin,(255/10)*duty_LED);


        }

        if (currentLine.endsWith("GET /slow")) {

           duty_LED -= 1;

           if (duty_LED <= -1)

           duty_LED=0;

         analogWrite(LED_pin,(255/10)*duty_LED);

        }

      }

    }

    // close the connection:

    client.stop();

    Serial.println("client disonnected");

  }

  if (flag ==2)

  {

  testText();

  flag=0;

  }

}


unsigned long testText() {

  tft.clr();

  tft.setRotation(1);

  tft.setCursor(0, 0);


  tft.setForeground(ILI9341_GREEN);

  tft.setFontSize(3);

  tft.println("Ameba_ILI9341");

  tft.println(" ");


  tft.setForeground(ILI9341_WHITE);

  tft.setFontSize(2);

  tft.print("Duty Cycle is:");


  tft.setForeground(ILI9341_RED);

  tft.setFontSize(3);

  tft.print(duty_LED*10);

  tft.println("%");


  tft.setForeground(ILI9341_YELLOW);

  tft.setFontSize(3);

  tft.println("\n2016 presented by");

  tft.setForeground(ILI9341_GREENYELLOW);

  tft.println("Aeroprobing Inc.");

}
二、下載手機NFC APP
1. 下載NFC Tools
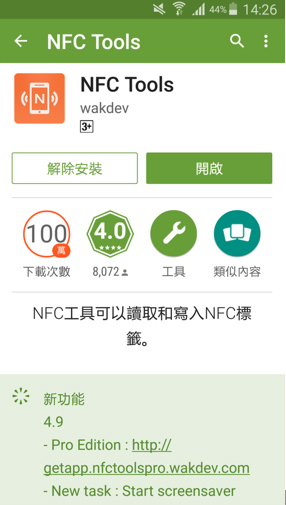
下載NFC Tools
2. 打開手機的NFC功能
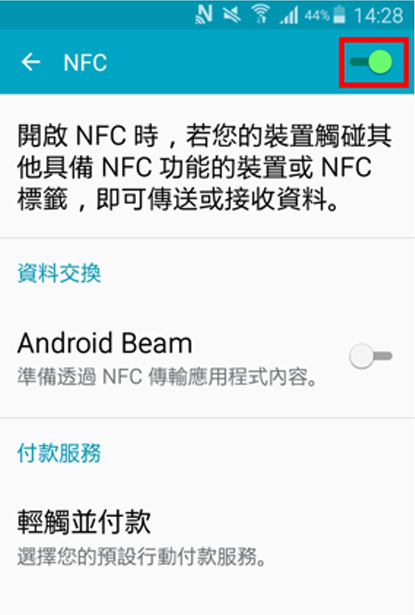
打開手機的NFC功能
三、NFC測試
將程式碼燒入後按下chip reset ,我們可以從監視示窗看到它的狀態,當我們看到 「TFT is OK!!」以及 「NFC is OK!!」的字樣後,就可以開始用手機NFC去讀取Ameba了。

看到 TFT is OK!!,以及 NFC is OK!! 即可用手機NFC去讀取Ameba
1. 請先確認手機是否有開啟NFC功能
確認手機是否有開啟NFC功能
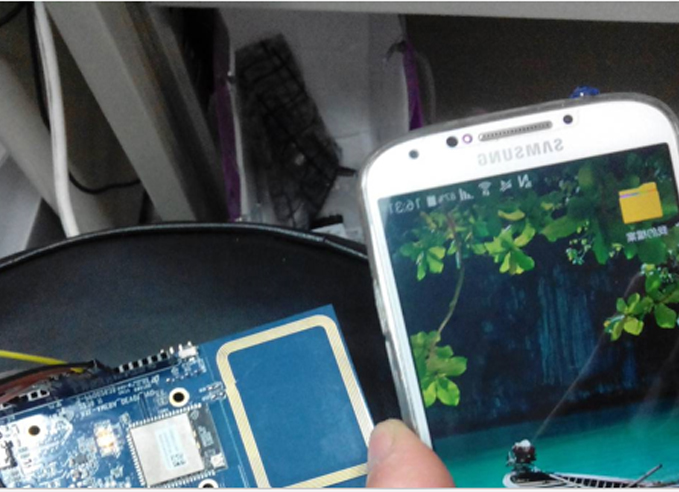
2. 感應完Ameba上方的NFC線圈後,我們會立刻進入自製的Web
感應完NFC後,進入自製的Web
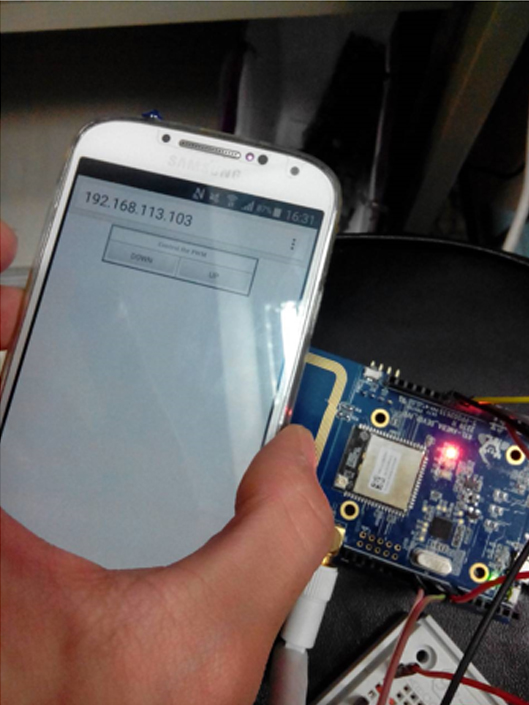
3. 進入Web後,我們可以透過上面的按鍵控制LED的亮度
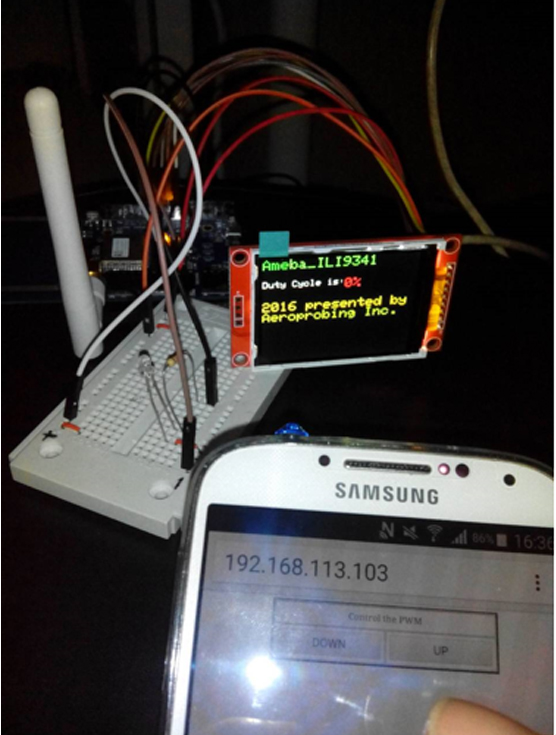
透過Web上的按鍵,控制LED的亮度
4. 按下[UP]鍵可以逐漸增強LED亮度
![按下[UP]鍵可以逐漸增強LED亮度](http://makerpro.cc/wp-content/uploads/2016/03/7.jpg)
按下[UP]鍵來增強LED亮度
小結
善用阿米巴開發板的NFC功能時,不僅可以省去繁雜的操作設定,也可以讓maker在物聯網專案開發上,有更多的操作選擇,和簡易的應用設定。
訂閱MakerPRO知識充電報
與40000位開發者一同掌握科技創新的技術資訊!


